Wednesday, 31 July 2013

Raspberry Pi frustrations

I was really excited when we were given a Raspberry Pi at school to "do whatever you want" with. I was even more excited when we were given five more by OCR!
I didn't really get much chance to do anything with them until this week. We had bought some HDMI-VGA leads which promised to work properly with the Pi and I had checked the many videos out there on how to set them up.
I had a good clearout at home a few weeks ago, and had thrown out an old keyboard because I had a much better one to use, but of course it is a wireless keyboard so wouldn't work with the Pi.
A new keyboard cost me a full fiver from PC World, and then I plugged everything and booted up.
A red and green LED came on and it all looked good. The green LED flashed on and off and then... nothing!
After much searching through the web for help (and finding none, couldnt find out what a flashing green LED meant, just what the patterns of flashing meant), I unplugged everything and tried again. This time, I swapped to another power supply (same 1.2A rating), and my screen flashed and the other three LEDs came on and it looked to be doing something.
I'm sure it was busy, but I had no idea what it was doing because my monitor was blank.
I knew that I probably had to edit a config.txt file on the SD card, but as I was using NOOBS it was hidden in a partition and I couldn't see it on my Windows laptop.
After several hours of trying every trick I could find on the web, I changed monitor leads from the standard blue D plug VGA lead to a much older lead that had pin 9 missing (which is used to power the EEPROM in the monitor for plug and play purposes)
Success! The display eventually came on and I was able to install Raspbian and get the Pi to boot. The monitor kept going to sleep, and it took a few changes to the settings to get it all running, and even then I had an annoying reminder on the display nagging me to change the screen resolution.
I am no stranger to these kinds of issues, but I can see that this would be really frustrating for an inexperienced user.
Anyway, I went into the settings on the Pi and enabled SSH, then loaded Putty and Xming. You can find the IP address of the Pi by typing:
ifconfig
And then use this to connect to the Pi with Putty, fairly standard and easy to do.
Start Xming, then load Putty and connect to the Pi.
Once you have a Telnet session (in the Putty window), type
startlxde
This should open a window which lets you see and use the Pi desktop.
At long last, I can start to play!

Thursday, 18 July 2013

Getting Loopy with PHP

This lesson starts to extend the skills and knowledge that students will need to be able to use PHP to solve problems.
The lesson starts with a recap on where the files are all stored because this had been causing issues.
It then looks at variables, IF statements and various methods of control structure such as SWITCH, WHILE and FOR.
This "lesson" allowed students to work at their own pace over a four hour period.
I am planning on creating a "PHP recipe book" with a series of scripts for them to copy and try and some graded problems for them to practice with.
Many of these lessons need a pair of HTMLpages, one with a HTML form to input values that can be used on the second page.
This word document has both pages, with different coloured backgrounds so that I can refer to the "green page" or "red page"


Click here to download the Getting Loopy presentation
Click here to download the Getting Loopy worksheet

Using PHP

We are lucky at Horbury Academy to have a web server that our students can access. I have set them all up with an individual FTP account so they can post live web pages and use PHP running on Apache.
This double lesson starts to introduce them to actual coding but also how to upload files to the server.
In practice, syncing between local files, remote files, and the browser cache took the students a while and I would cover this in more detail in future.


 I chose PHP because I think t meets these criteria.
  • Simple to understand
  • Syntax is simple.
  • Powerful 
  • It is widely used in industry, so will be useful for the students later
  • Students can install PHP on their home computers using XAMP
One issue with PHP is that it isnt easy to use an "input" command. This lesson also covers HTML forms (in fact we did forms first)


Click here to download the Using PHP presentation

Click here to download the Creating Web Forms worksheet

HTML Tables

Following on from the HTML Basics lesson, this is a one hour lesson on creating a HTML table.
The lesson reinforces how important that it is to make correctly nested tables.

Click here to download the HTML Tables presentation.

Introduction to HTML

As I have chosen to use PHP as the programming language for OCR computing GCSE, we start with a quick look at HTML.
This presentation is designed to get them started with the basics of HTML. It does not cover more advanced topics such as setting the doctype, but will enable students to create a simple HTML page from scratch.
Click here to download the presentation.
As always, feedback on the resources would be great!

Introduction To GCSE Computing presentation

At the start of a new GCSE course, I like to give an outline of what we will be covering, how the work will be assessed and also a quick look at some of tehe topics.
We start our new timetable two weeks after the June half term, so we have about four weeks of lessons before the Summer break. This gives students the chance to change options if they don't like the course, and most years I gain some and lose some students (this year I lost two and gained three)
The presentation starts with a look at some "celebrities" from the IT world before looking at the OCR course in more depth.
Please add comments if you find this useful, or can see a way to make it better.
Click here to download the GCSE computing introduction presentation.

GCSE Computing Scheme of Work

It can be daunting to approach the planning for a whole new course and writing an outline scheme of work takes a lot of time and effort. This is my first attempt at a scheme of work for our OCR Computing course. I will update it as we go through the year, giving more time for harder topics and either planning extra activities or reducing the time allocation for the ones when we have finished a topic early.
We teach GCSE options in five lessons a week, two doubles and a single sixty minute session.
Ive allowed a generous amount of time to learn how to use PHP and covered all of the theory topics three times. This is an introduction, a second look and a revision session for each topic once the final moderation date has been reached.
Feel free to adapt, adopt and modify, but I would appreciate some feedback so I can make it even better for next year!
Click here to download the scheme of work in Excel format.

Tuesday, 16 July 2013

Straw Poll generator

Easy to use resource!
From time to time in a lesson, it is useful to be able to run a quick "straw poll" to ask students opinions.
You can create great polls using Google Forms, but this web site:
http://strawpoll.me/
...really couldn't be easier!
The only caveat is to remember to tick the "permissive vote duplication" box as most school networks will appear as a single I.P. address and wont allow more than one person to vote.

Friday, 12 July 2013

Binary Addition poster

Binary Addition

This is a poster/ handout aimed at students who are struggling with binary addition.

Its a single page powerpoint page, feel free to adapt/adopt/modify according to the Yorkshire licence agreement, ie please acknowledge the source and but me a pint if you see me in a bar (wont be outside Gods Chosen Country, anyway!)
Link to the full poster 

Key Stage 3 Spreadsheet unit

This is a full scheme of work and resources for a Year 7 ICT spreadsheet unit. It includes a scheme, assessment criteria, home learning resources etc. I publish this on the "Yorkshire" licence, i.e. if you use it, please personalise it for your own use, tell me you have used it, provide feedback as to what went well and what can be improved and above all you owe me a beer when we next meet in a bar!
Here is a link to the full unit, if the link doesnt work, let me know and I will sort it out...

Rationalle...

This is intended to be a link unit between sometimes unsteady KS2 spreadsheet lessons and where we need students to be for key stage 4. I've tried to make it self explanatory but I'm sure that you all know that you learn as you go with a unit like this, get to know its good points and adopt/adapt/modify as you go. Its tailored very closely to my own experience, teaching style and school requirements, and you are completely free to change it as you see fit, just please acknowledge where the original idea came from!

Lesson 1


The first lesson is a recap on basic concepts, terminology and the contents of cells. The lesson focuses on using a spreadsheet to draw a students timetable, and deliberately avoids formula etc.
The home learning task is to identify common spreadsheet functions, its aimed squarely at Excel 2010 but can be adopted easily.

Lesson 2

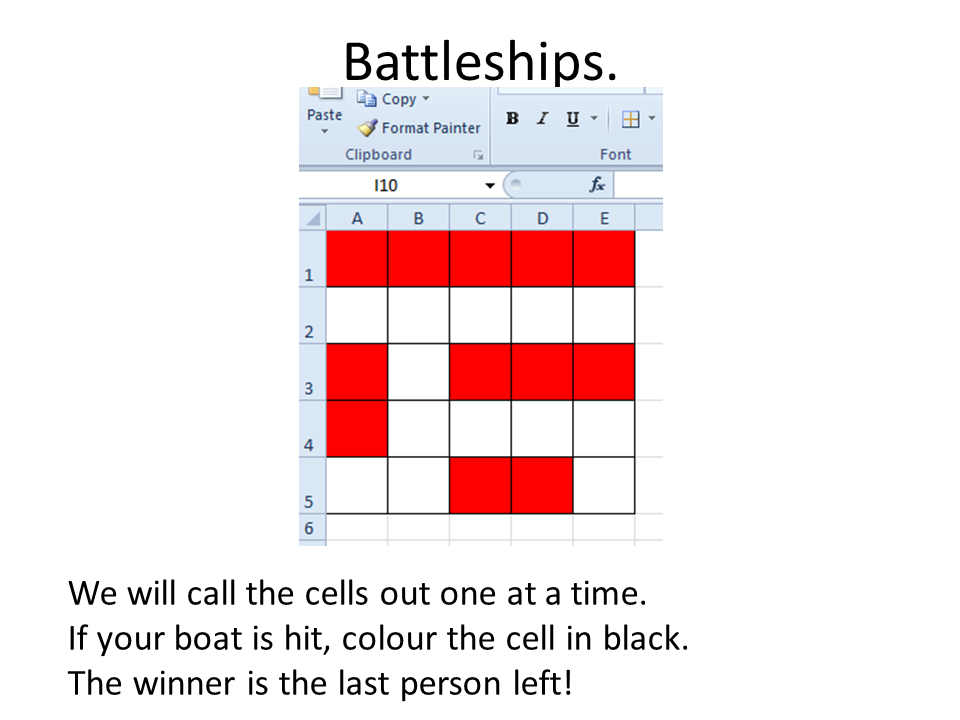
Lesson 2 looks in more depth at simple formula. The starter activity asks them to create a "battleshiship" game which they then play as a class. The limitations with this activity is that once they have a ship on cell A1, they will win the game! Nevertheless, play it quickly and with pace and it reinforces the aims of the lesson.
This lessons focus is simple formula and cell references:

The main activity is a "macro enabled spreadsheet". Students will need to copy this and enable editing and trusted documents, but will then get feedback for each answer they give.

In practice this gives a surprising split in abilities. Some students march through the process whilst others flounder. Please let me know how your cohorts get on, and I will modify as we move forward.

Lesson 3

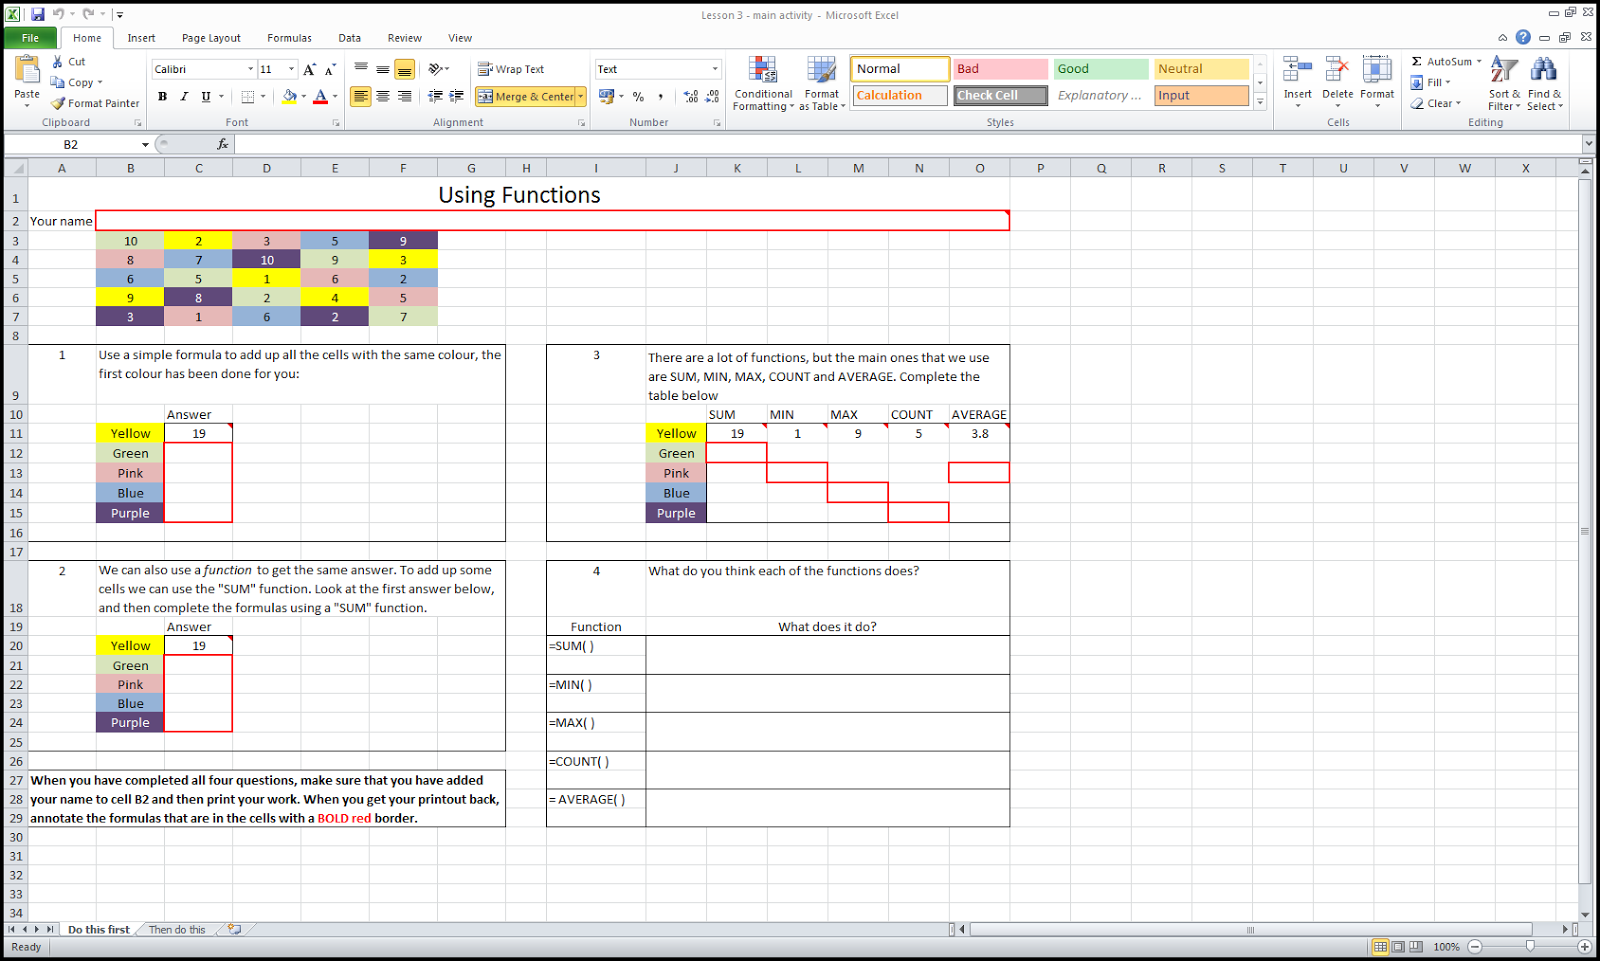
Lesson 3 introduces functions.

This should let students work very independently and work through the topic.

It has been really surprising how different groups of students get though this at different rates. The activities explain them selves, but you do need to go through them first.

Lesson 4

This lesson starts with a "knowledge hunt", where students look for the answer to certain questions from posters that you leave around the room.

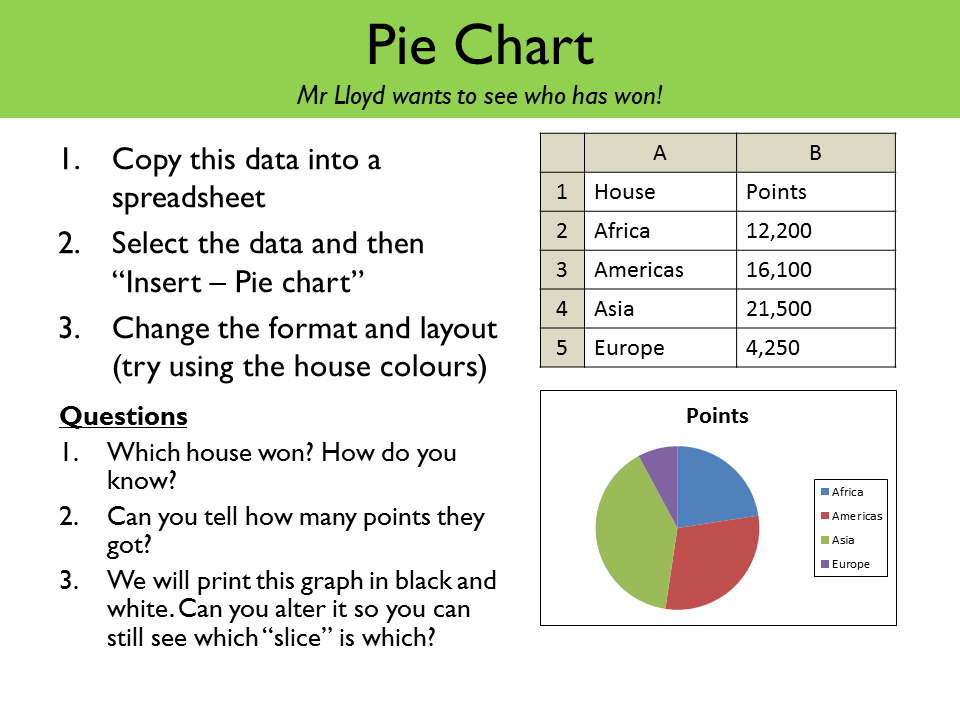
Students will then have to create three different types of graph and annotate them to explain what they show.

The home learning activity is to answer various questions about the graphs.

Lesson 5

Lesson 5 looks at the filtering available and some sorting tools:
Although this is fairly closely tailored to Horbury Academy, it is easily modified to your own situation.

Lesson 6

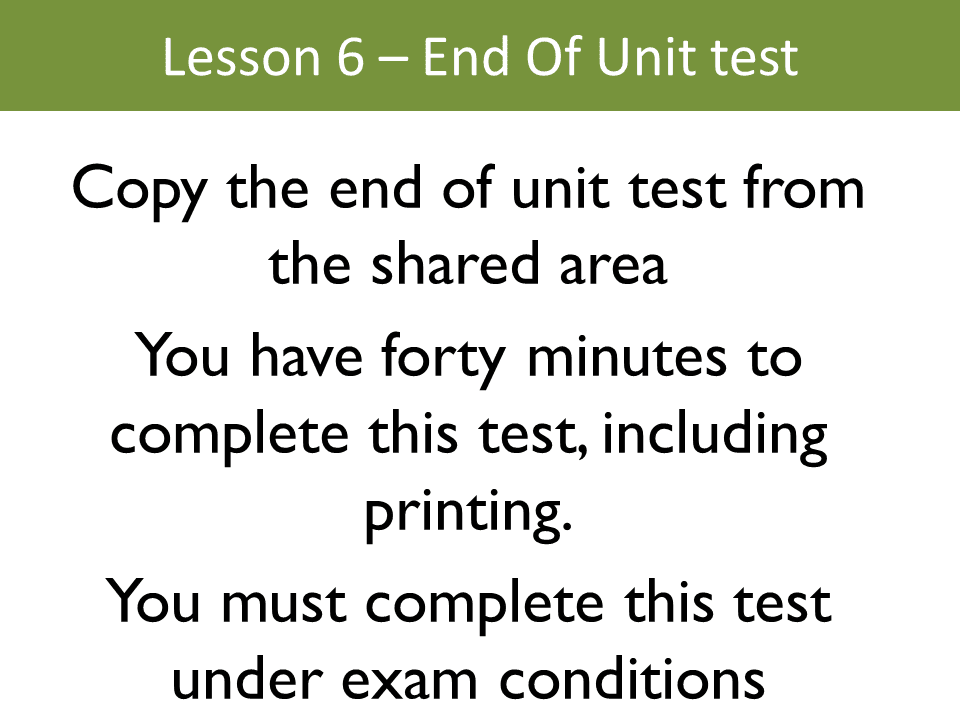
The final lesson is a test, good old style assessment!
It should allow you to grade students fairly easily according to the assessment criteria.

As I said earlier, this is a bridging unit and should provide year 7 students with the knowledge, skills and understanding to move on to what we need them to be able to do in KS4.
In practice, I usually find that they still need frequent "top ups" on spreadsheets and until they need tp use one "in real life", they dont make radical progress!.

Please, please, please, email me with comments, links and other resources and I can improve what I have attempted to do.